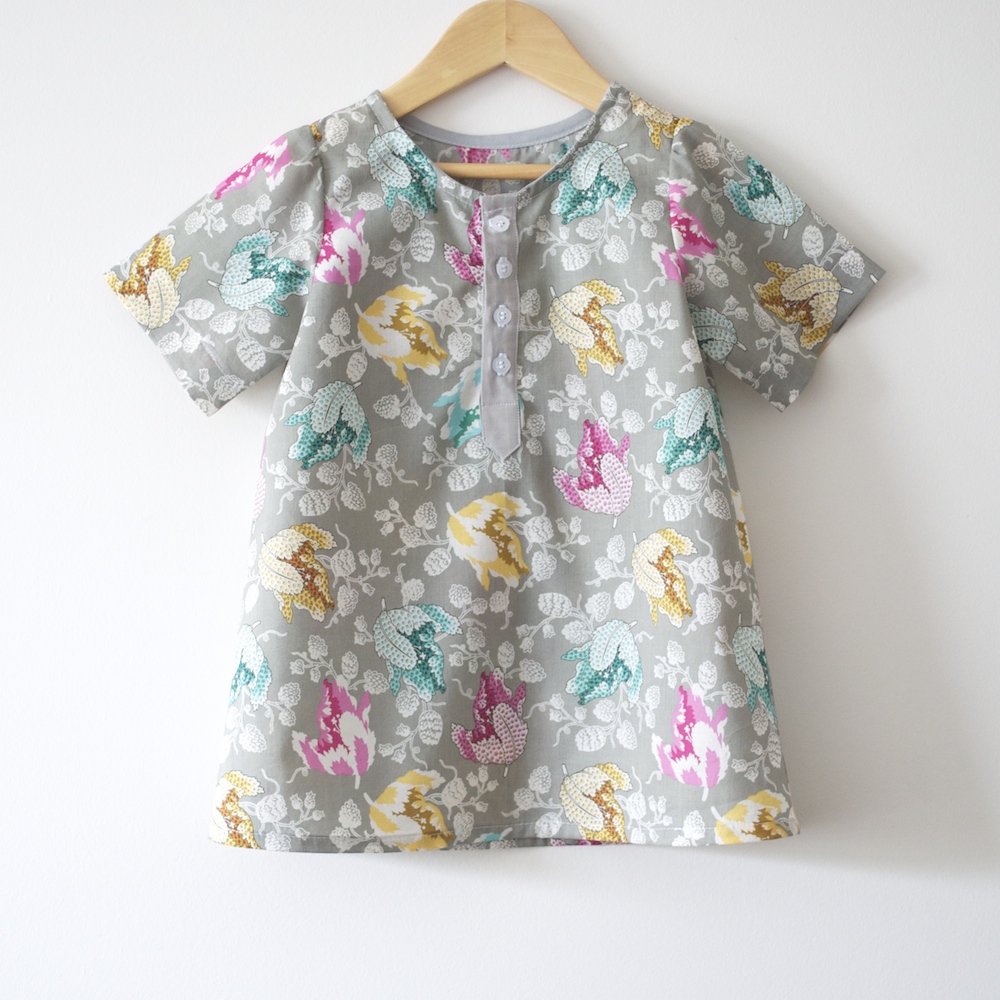
The Little Camper Dress is set to drop next Thursday (26th of June) and I have put some resources together for you guys to make sewing your first Little Camper Dress as simple as possible. Hey There Threads is about simple, clean lines and sewing with a minimum of fuss. The Little Camper Dress will take longer than most of the other Hey There Threads patterns, but I think the extra time is worth it for a deliciously simple yet practical and well finished little dress.
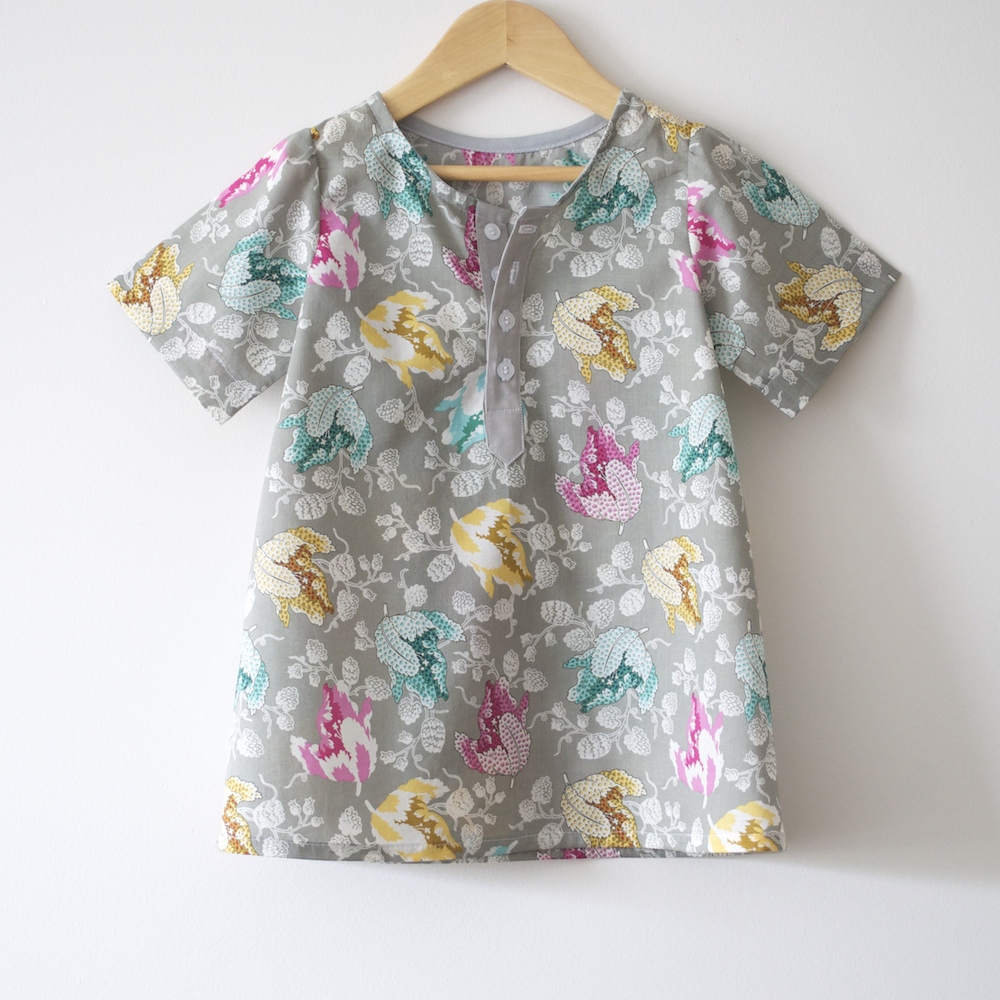
If you are new or newish to sewing, or if you are competing with me for the title of World’s Laziest Sewer, you might avoid sewing with patterns that have anything more than straight sewing. This one has buttons and buttonholes, bias facing and a placket BUT I don’t want you to let those things scare you off. So, some things to get you started before you even lay your hands on the pattern and you’ll be feeling super comfortable with giving this sweet pattern a try.

Firstly, if you usually avoid buttons and buttonholes, this post will get you ready to go. There’s no real secret to them, you just gotta give them a go! The best thing you can do is get practicing on some scraps so you feel confident when it comes time to put the finishing touches on your Little Camper dress. (And if you want to still want to point blank refuse to use buttons go on and use press studs or sew on snaps, I’ll still love you, for realz!)

Plackets, once you get the hang of them, are a super easy way to add a stylishly simple finishing touch, and once you’ve mastered this one, you can apply the same technique to add a placket to any other dress or top pattern or ready to wear garment you might want to alter. I know from both my own experience and my career as a teacher, that we all learn and absorb information in different ways, so to that end, as well as step by step written instructions, illustrations and photos in the pattern, I also created this 3 minute video for those of you who, like me, learn best by watching someone else do it. You’ll notice in the video that I repeat the same actions, or appear to go back and do the same thing again, or start on the wrong side and I deliberately didn’t cut or edit those parts out, this is me, in real time, sewing the placket. The only time I cut something out was when I was fighting with the iron and its cord… I think it’s important that you see that the placket is not hard to sew but it is vital that you take your time and press and repress if necessary for a nice, neat, crisp, well finished placket.
And if you have anymore questions, leave them in the comments below and I’ll do my best to answer them for you.
Love yas!


