
Welcome to the first edition of the pattern hack series! Basically, I’m going to teach you how to take an original Hey There Threads pattern and hack it up to make a new version of the pattern.*
The Explorer Skirt is fun because it’s fairly quick, easy and gratifying to make – the length of a pot of tea and you have a cute skirt with pockets. POCKETS. I love pockets.
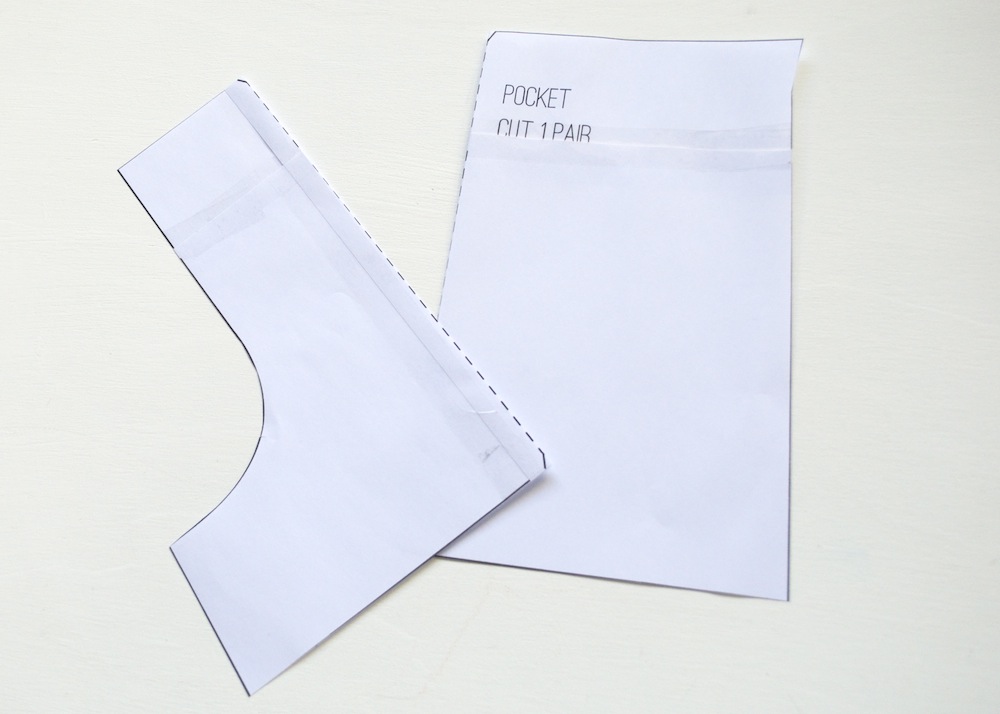
This hack is a great stash buster for all of those odd bits you never know what to do with. We’re going to cut our pocket pattern piece in half and use use up some of those scraps you’ve got lying around.
Take your pocket pattern piece and cut it in half along the dashed fold line. You’ll be sewing the 2 pieces back together again along that same edge, so you can:
A) retrace the pattern pieces and give them both a 1cm seam allowance on that edge only – the same one you just cut. If you do this, your pocket will be the same width as originally intended, the same as it would be if you hadn’t cut it.
or
B) What I’d do. It’s called a pattern hack. This is not meant to be a pretty, delicate process. Just hack it back together! Don’t worry about the seam allowance. The skirt is going to work just fine, the pocket will just be a wee bit skinnier and still plenty big enough to fit rocks, sand, tissues and biccie crumbs in.
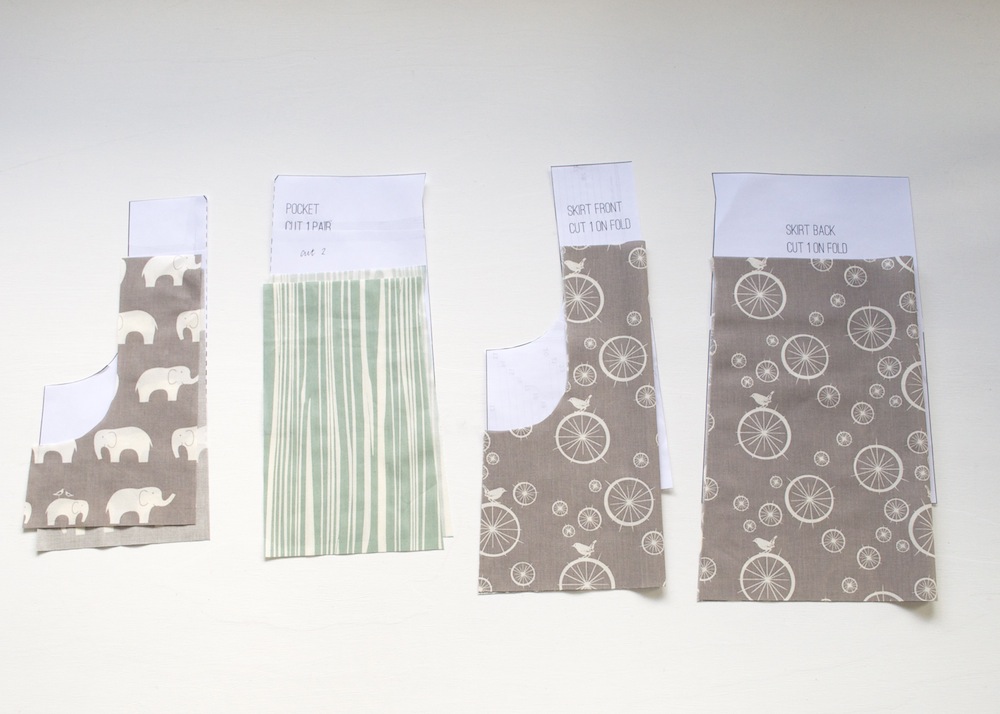
Cut out all of your pieces. That skinny little pocket piece on the far left, the one with the elephants on it, won’t be seen, it’s the piece that forms the front piece of the pocket that lies against the front skirt piece. Point is, you won’t be able to see it unless you go digging around in the pocket, so use up scraps – they don’t have to match each other, or the rest of the skirt, they don’t even have to be cut out right way up. Cause no one’s going to see. Go crazy, dare ya!
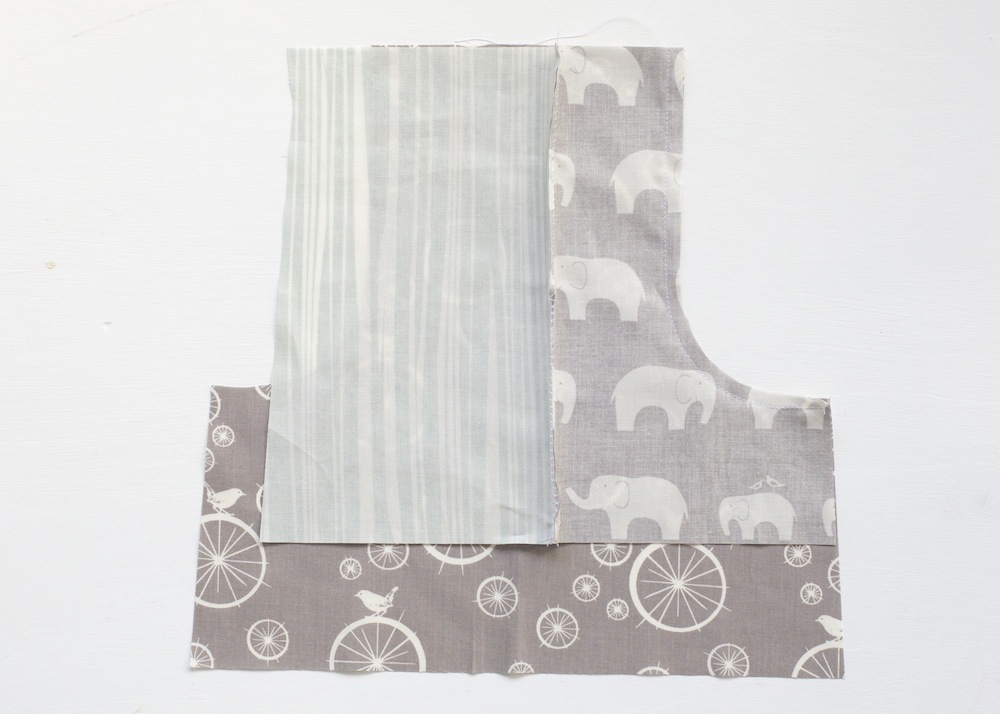
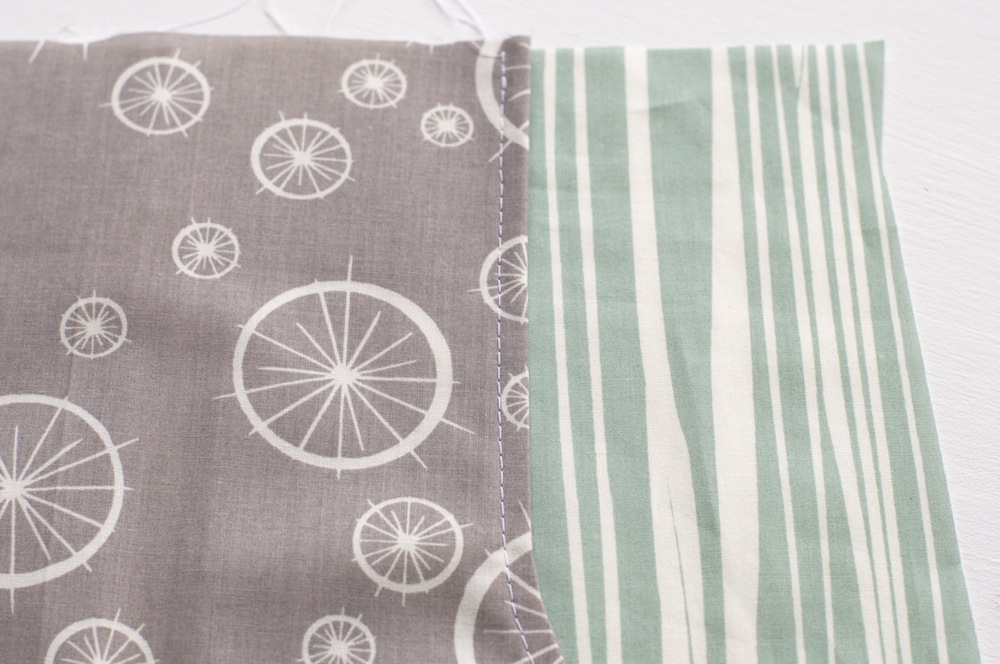
With right sides together, sew the pocket pieces back together, along the original fold line, the line you cut to separate the pocket into 2 pieces. You need to finish the seam now, too. You can overlock it if you have one, or you can just zig zag the edge. We just want to stop the edges from fraying with wear and washing.

Attach the newly joined pockets to the front panel.
Clip into the curve, the more clips, the smoother the curve. Clip right to, but not through, the stitching line.

Turn the pockets and front right side out and press.
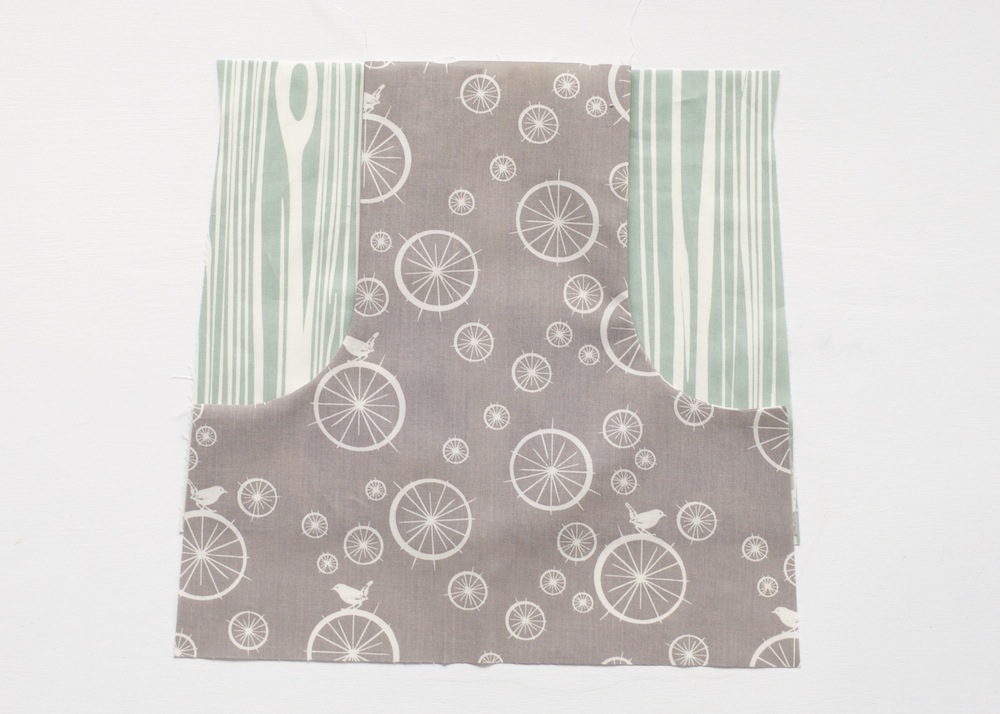
Top stitch the pocket edge.
NOW you can stitch the bottom opening of the pocket closed and either zig zag stitch the raw edges or overlock it if you have one.
You’re all done with your pocket hack, now we’re just go ahead and finish off the skirt following the original pattern.


Hi, I was wondering since you created a pattern for adventerous Mumma’s, can you pls create a pattern for adventurous Dadda’s too? Please! It would be so cool to have matching explorer outfits for the whole family.
What do you think?
Thanks,
Marissa.