
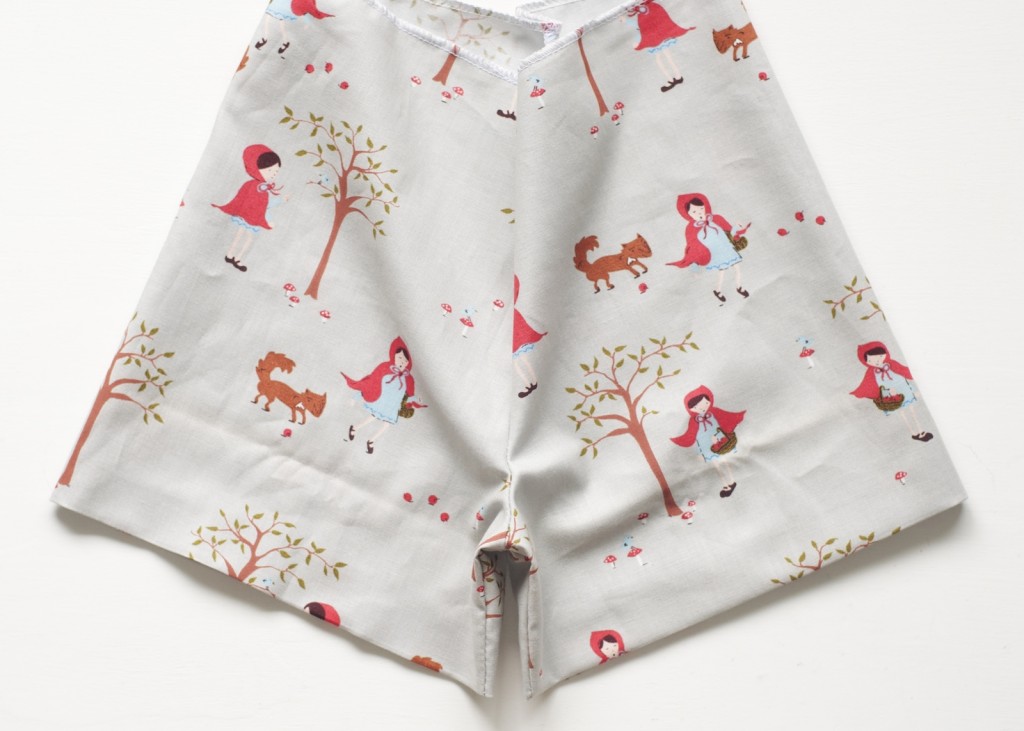
Bloomers, you either think they are really bloody adorable or truly awful. Clearly I am in the adorable camp so I’m going to show you how you can turn your Basics Collection into a bloomers pattern. Not only do I think they’re adorable, they are also super practical for kiddos who are just finding their legs and moving. The gathered elastic cuff helps hold them above their chubby little knees as they figure out the whole crawling, cruising, walking gig. Cute AND practical.
First, a few tips.
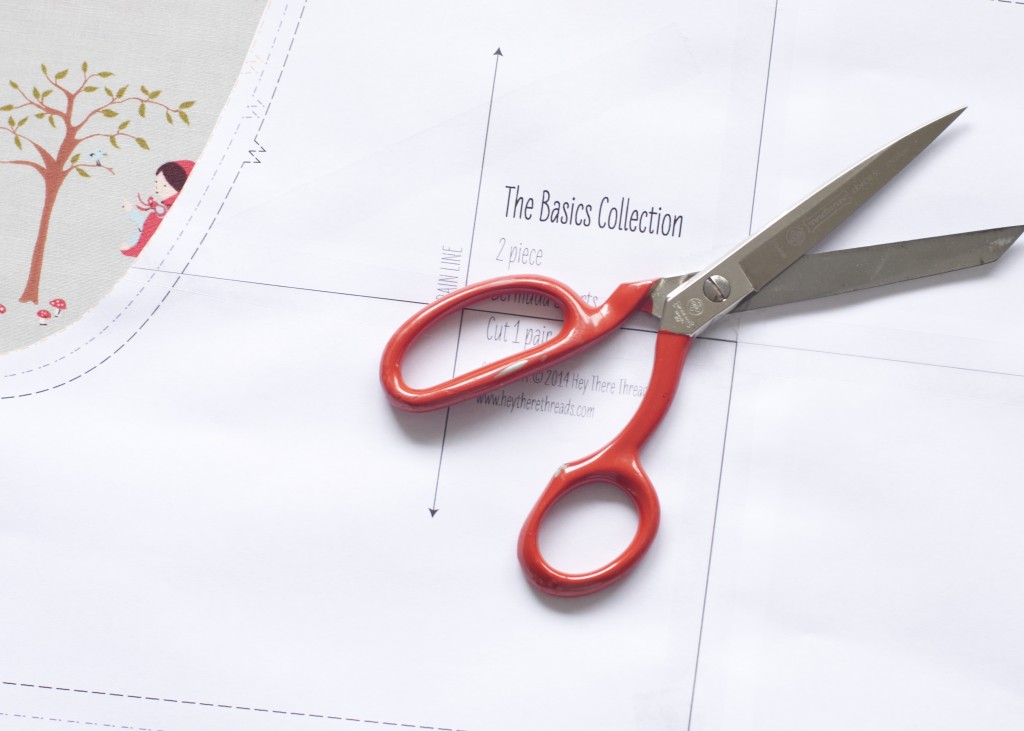
1. Rather than tracing the pattern off, we’re going to alter the pattern ever so slightly directly onto the fabric. Of course if you are planning on making stacks of them and not just a few one off pairs, you might want to make these adjustments on a paper pattern to keep.
2. If you are going to follow this tutorial and make the adjustments directly onto the fabric, you’re going to want to use something to weigh the pattern down and stop it moving around while you are tracing.. I use my metal fabric scissors or the tape dispenser or even my phone sometimes if it’s handy. You just want something to stop the paper blowing around or moving. One day I may just grow up and find some pattern weights…
3. Always point the center back towards the fold in the fabric and shove it over to the selvage side as far as you can. Now you’ve got a nice big useable scrap for future projects. You can use this for pockets, making little keepsake/treasure bags for your kiddos or, my personal favourite, square it off straight away and throw it into a tub. Once the tub is full enough you’ve now got a pile of ready to use squares and rectangles to make a happy scrappy quilt for picnic blankets, quilts for beds, dolls quilts… you name it!

Ok, let’s sew some bloomers!
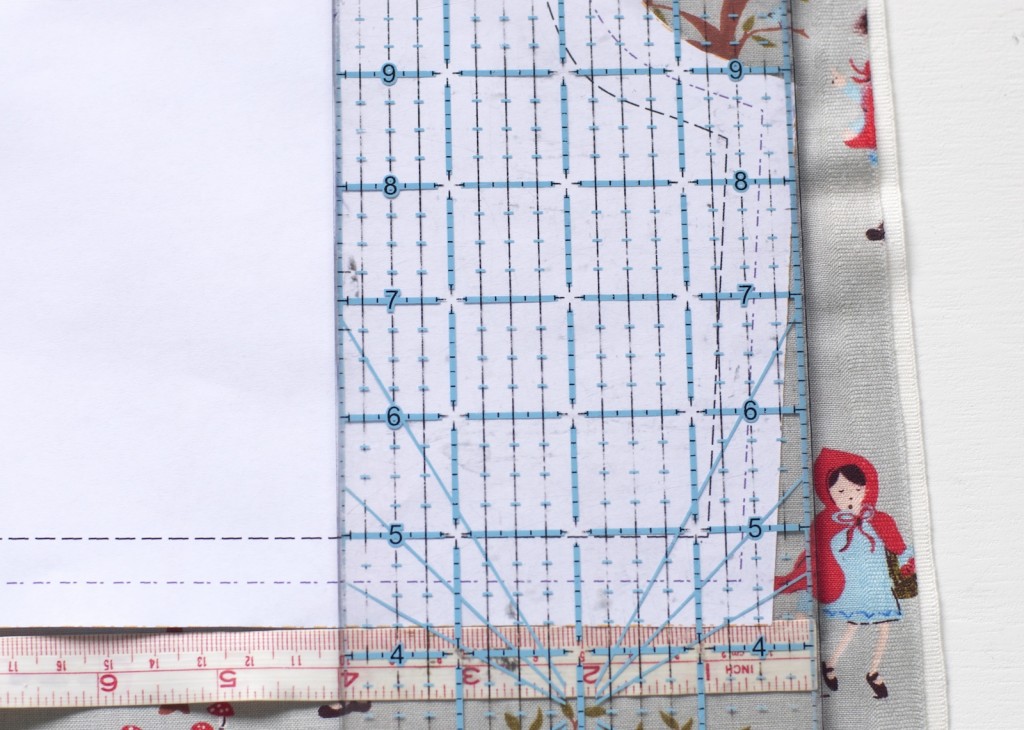
1. Before tracing the entire pattern we’re going to measure over 1cm on the inner leg for the back half of the panel and 1cm over for the front part of the panel. Essentially, we are adding an extra 2cm to the width of the bottom hem. We are going to be turning the hem up and under wider than on the original Basics Collection, so this not only adds a tiny bit more fullness to your bloomers but also helps reduce the strain on the inner leg seam and the grain of the fabric. If you followed that, high five, if you didn’t, just trust me.
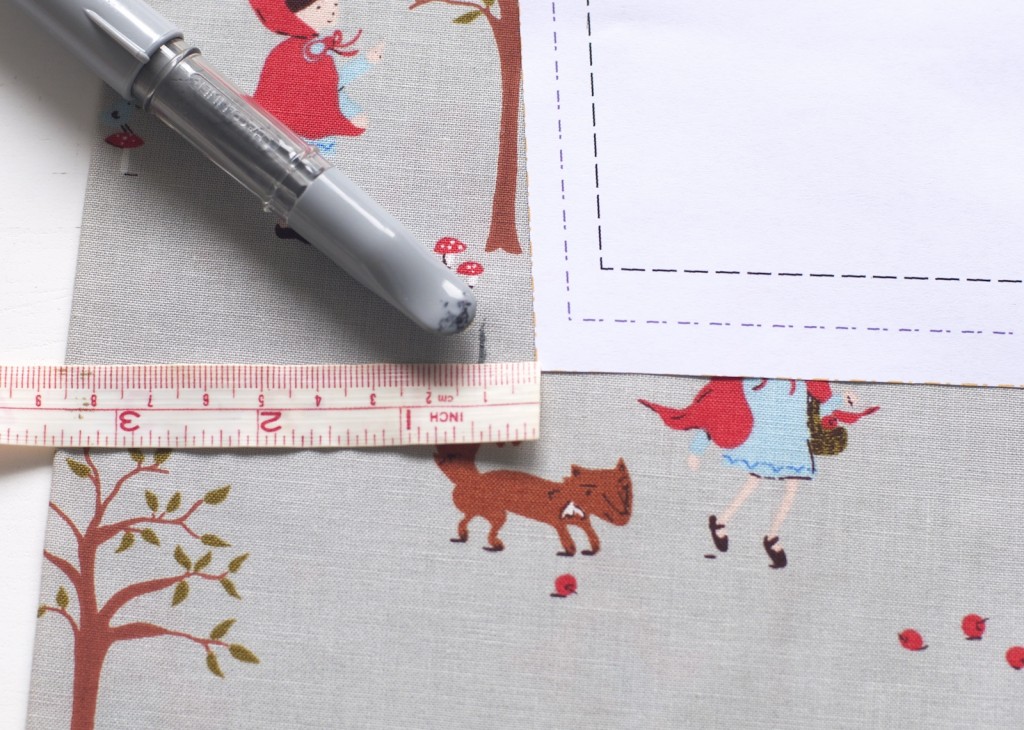
2. Using a ruler – a quilting ruler is super handy, it’s clear and makes it easy to see – line up the crotch and the new bottom hem point. Continue tracing off the rest of the pattern and cut it out.
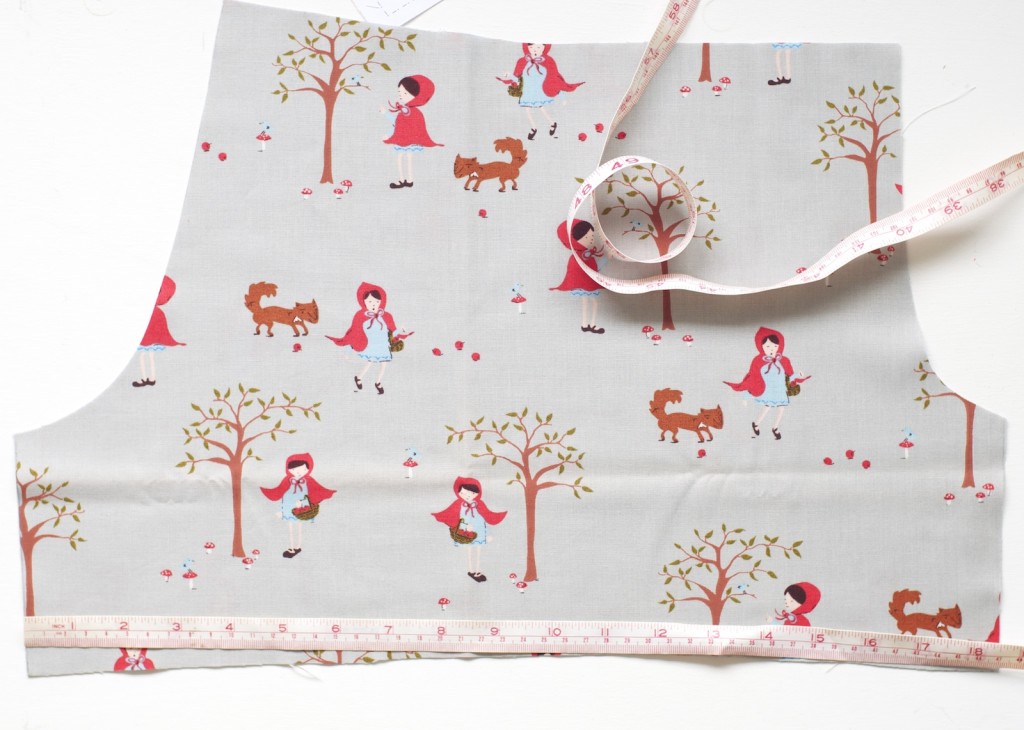
3. Use your tape measure to measure the new hem and note it down OR measure the bottom hem of the original pattern and add 2cm.
4. Continue sewing the pattern according to the original instructions but don’t hem them yet!
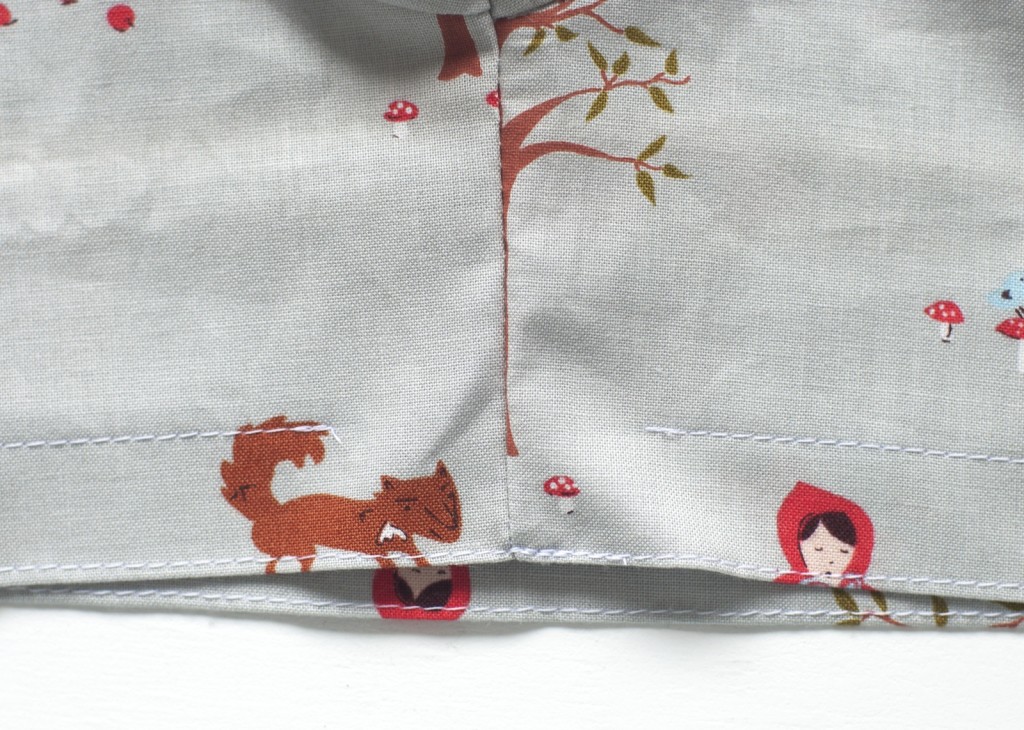
5. Instead of turning the hem under 1.5cm (5/8”) we’re going to turn it under 2.5cm (1”).
6. Press and top stitch 3mm (1/8”) from the edge. This gives the casing a nice crisp finish.
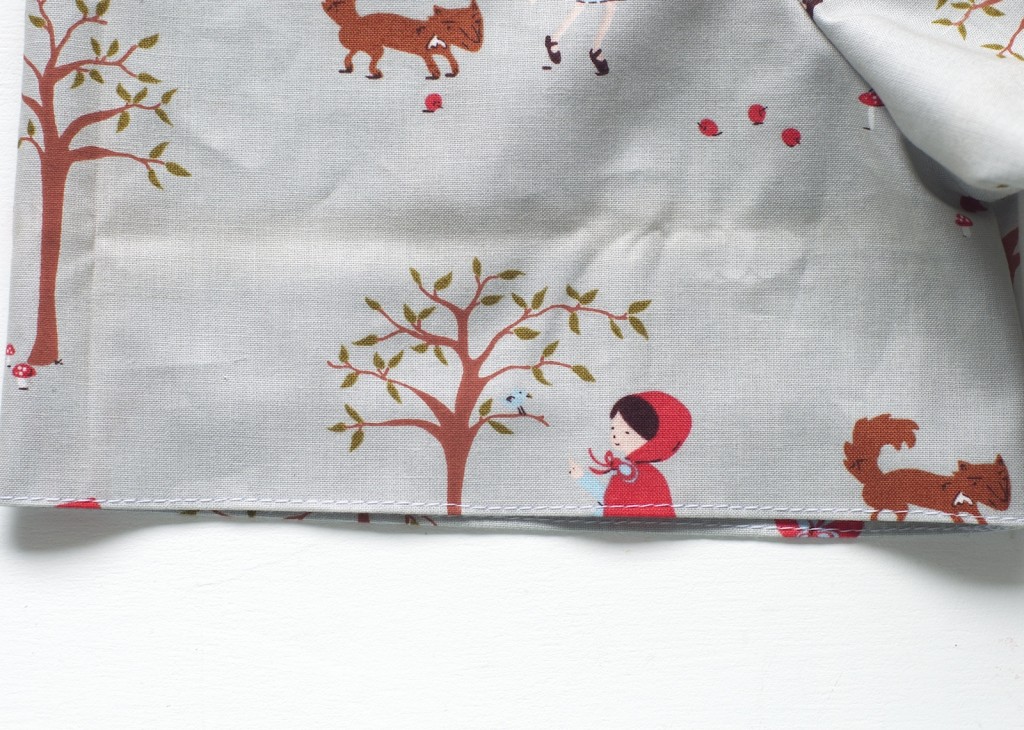
6. Starting 2.5cm (1”) away from the inner leg seam, stitch around the hem to create the casing for the elastic, stopping about 2.5cm (1”) before the leg seam.
7. Cut the 6mm (1/4”) elastic to your desired length – either measure your little one’s thigh and add 2cm (1cm on each end for overlap when joining the ends) OR if you don’t have a chubby little thigh to squish, I mean, measure, cut the elastic to 60% of hem width. So for size 2, that would be 45cm (original width) + 2cm (the extra cm either side that we added) multiplied by 80%. 45+2=47, 47×60%=28cm (11”). Thread the elastic through the leg casings and finish sewing the seam closed.
8. This isn’t really another step, more an added bonus tip that you probably already know. Dressing themselves is a huge boost to a little kid’s confidence and sewing tags or ribbons into the back to give them a clue as to which way it goes is super helpful, especially for simple two piece patterns like these ones that have no real obvious back or front. I like to sew a little size tag in because as they grow out of the garment it is a reminder of what size I made originally and what size they’re growing into to make next. You know, not that I learnt that after sewing my son 3 pairs of shorts a size too small because I thought I knew what size he needed. I mean, who’d be silly enough to do that? THREE PAIRS!

So there you go. A bloomers pattern from your Basics Collection. Easy peasy!! Let’s go have a cuppa and some cake.


Awesome hack, off to try it now 😉
So for thigh elastic measurement, should it be 60% or 80% of hem width???
Ha, oh gosh! Thanks for picking that up, Naomi, in all the years this blog post has been up, that’s the first time anyone’s noticed that error. 60% is a good place to start, but if you’ve got your kiddo on hand, measure their thighs and cut the elastic accordingly. xx